Knowledgebase | Jason Morrell
Beginners Guide: How to create, save, update, close & find files and switch between documents in Microsoft Word
Working with documents and files in Microsoft Word | Beginners Series
")

- 1. Creating a new document from a Microsoft template
- 2. Creating a brand new blank Word document
- 3. Saving a document for the first time
- 4. Saving changes to an already saved document
- 5. Closing a document
- 6. Opening a document using browse
- 7. Opening a recently-used document
- 8. Finding a lost file
- 9. Switching from one open document to another
- 10. Moving, resizing & positioning windows
- 11. All the key points again
Continuing this Word series for beginners, in this post you’ll discover everything you need to know about creating, storing and working with documents in Microsoft Word. It’s not as hard as you might think and once you’ve done it a few times it will become like child’s play.
1. Creating a new document from a Microsoft template
Don’t reinvent the wheel.
Rather than creating your own document from scratch there are thousands of templates that are freely available for you to use. Some of these are available with your standard installation of Microsoft Word, but if you have an internet connection, there is an ever-changing library of templates that you can tap into.
There are ready-made templates for reports, resumes, flyers, birthday cards, thank you cards, brochures and the list goes on. There is a template for you if you invest some time to look through the library and discover all that is on offer.
Microsoft have created an active online community where members can contribute and share template designs they have created, so that other people can benefit
To create any type of new document:
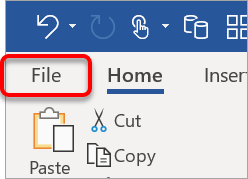
1 Click the File tab in the top-left corner of the screen.
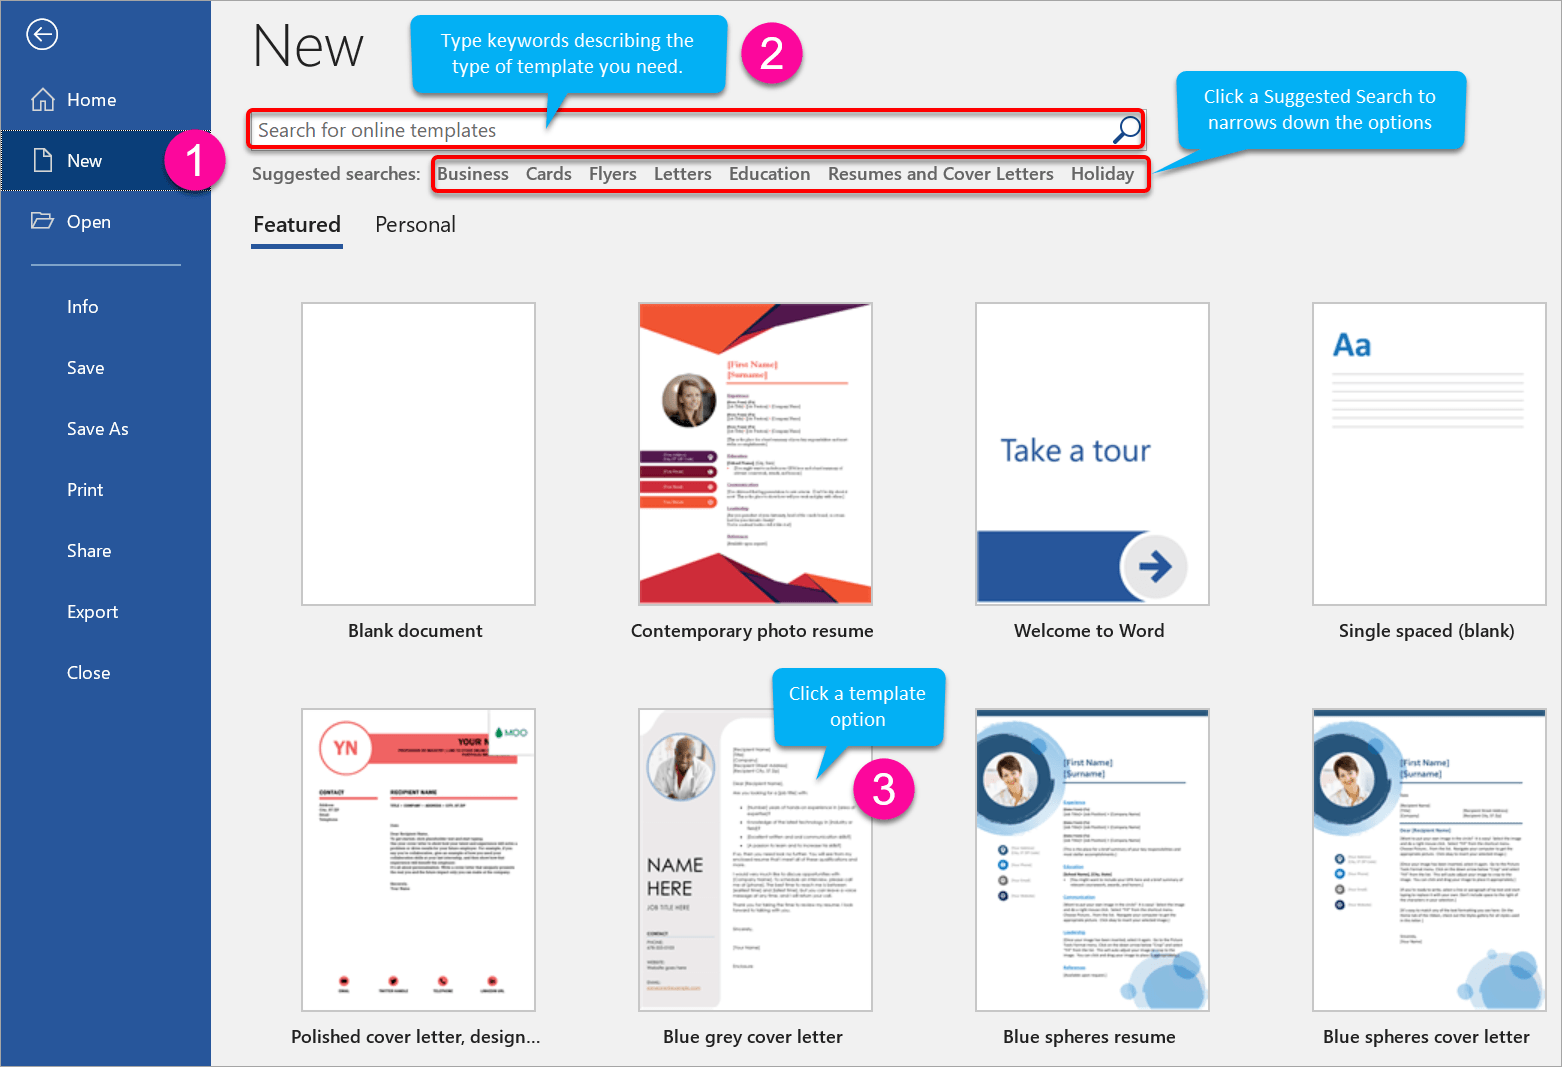
2 Choose New on the left side panel.
A gallery of document templates is displayed. Choosing one of these templates can give you a head start and save you a lot of time.
To drill down and display templates for something in particular:
1Select one of the categories listed at the top (letters, resumes, fax, labels, cards, calendar), or
2 Type what you are looking for into the search box (e.g. Christmas party, meeting minutes).
3 Scroll through the targeted templates list options and click a template to select it.
2. Creating a brand new blank Word document
A document is probably the simplest type of file to create as a beginner. A document refers to any type of text on a page whether that’s a single page letter, resume, short report or a huge 200-page report
To create a new Word document:
1 Open Word from the apps list on the Start Menu (or use any other technique described in the previous chapter.
Depending on the settings, a new blank page may appear immediately. However, if you see a gallery of templates:
2 Single-left-click on the first one called Blank Document.
3. Saving a document for the first time
Once you have created the document, you need to save it.
Choose any of these three methods
1 Hold the Ctrl key and press S.
2 Click the ancient floppy disk icon on the Quick Access Toolbar (top-left-of screen).
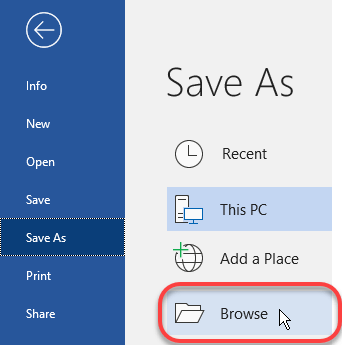
3 Single-left-click the FILE tab, then single-left-click SAVE or SAVE AS.
Then click BROWSE
The Save dialog is displayed and at first glance this might seem overwhelming, but there are just three things you need to do
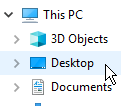
4 On the left side of the dialog box, single-left-click either DESKTOP or DOCUMENTS. These are the easiest locations to store files initially. In the next chapter you will discover some different locations where you can save files
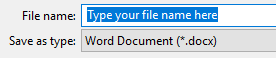
5 In the File Name box, type a name for your file
6 Single-left-click the SAVE button

If you look at your document title bar (top of the screen) you will see the file name you just typed

4. Saving changes to an already saved document
If you then make changes to your document (either now or down the track):
- Press Ctrl S or
- Click the ancient floppy disk icon in the Quick Access Toolbar or
- Single-left-click the FILE tab then single-left-click SAVE.
Your updates are saved to the same file name.
If you wish to create a second copy of the file as a backup:
1 Single-left-click the FILE tab then single-left-click SAVE AS.
2 Choose a location and different file name (refer to previous section)
3 Click the SAVE button.
If you do this, take care to open the correct file in the future as you now have multiple copies.
5. Closing a document
Press Ctrl + W or single-left-click the FILE tab then single-left-click CLOSE. This will close the file but leave the Word app open.
Alternatively, click the X in the top-right-corner of the app window to close the file AND the app.

You will always be prompted to save unsaved changes.
6. Opening a document using browse
There are several ways to open a document in order to read it or make some changes
1 Press Ctrl + O or
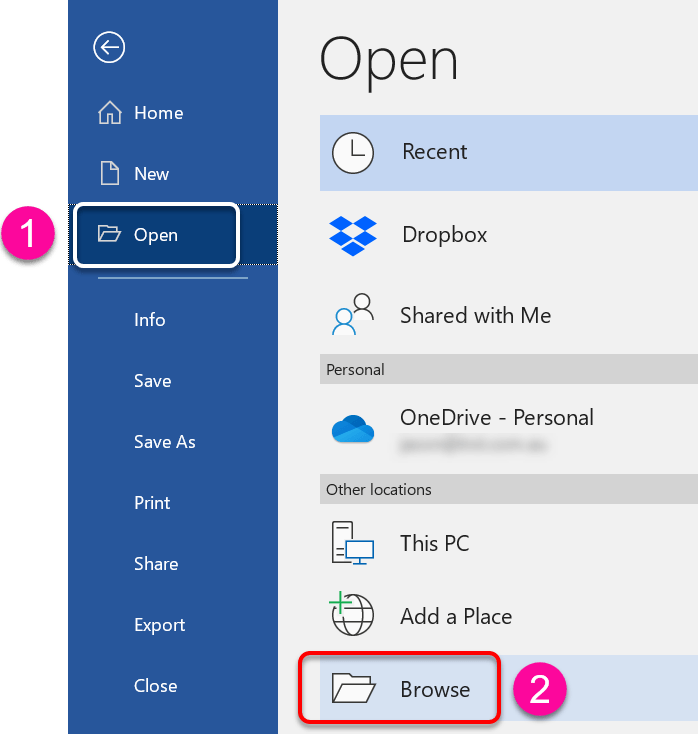
2 Click the File tab in the top-left corner of the screen and choose Open on the left side bar
3 Click Computer in the middle panel.
4 Click Browse.
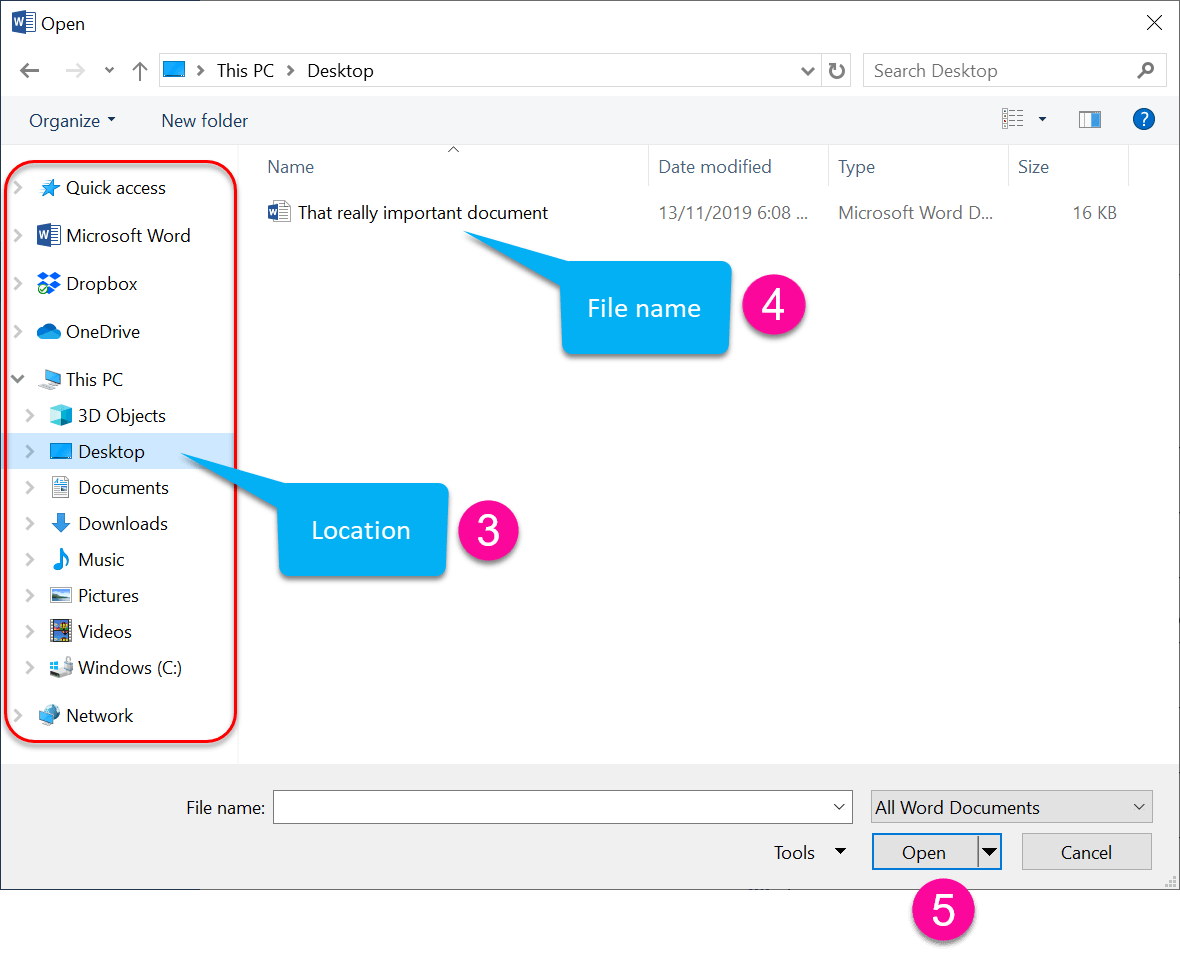
5 Choose the location where your document resides (probably the DESKTOP folder or the DOCUMENTS folder.
6 (Optional step) Choose the sub-folder (if you created one) where the document is saved.
7 Select your document and click Open.
7. Opening a recently-used document
1 Click the File tab in the top-left corner of the screen.
2 Click Open in the left panel.
3 Select Recent Documents (if necessary) in the middle column.
4 Select your document from the Recent Documents list on the right side of the screen.
8. Finding a lost file
If you cannot remember what you called the file or where you saved it, you can search for it.
1 Single-left-click the FILE tab then single-left-click OPEN.
2 In the top-right of the dialog is a search box. Single-left-click inside the search box.

3 Type the whole file nae or part of the file name then press ENTER. The app will search for your file and display a list of matching results.
4 If you see your file listed, double-left-click it to open it.
9. Switching from one open document to another
Often you need to work on two or more documents at the same time. In the Windows task bar (at the very bottom of the screen), the Word icon will show an overlap, which indicates that more than one document is open.

To switch to a different document:
- Hover over the stacked Word icon on the task bar to display the preview thumbnails for each open Word document.
- Left-click the thumbnail of the document you want to switch to.
When you switch to a different document, all the other open documents remain open in the background. You haven’t lost them. You don’t need to save them first. You can switch back to another document at any time.
10. Moving, resizing & positioning windows
At the top-right corner of the screen you’ll find the three standard Windows icons


Minimise. This will remove the document from the screen, but it remains open. Click the button on the Windows taskbar to re-display the document

Restore / Maximise. Clicking this button toggles between showing the document at the full screen size and displaying it as a resizable window.

Close. Closes the Word document. If there is only one document open, Word itself will also close.
You can also use these keyboard combinations to positioning windows on the screen

Display the window at full screen size.

Resize the window to half the screen width, then lock to the right side of the screen.

Resize the window to half the screen width, then lock to the left side of the screen.
11. All the key points again
- To create a new document from a Microsoft template, click the File tab, choose New from the left side panel then locate and select a template.
- To create a new blank document press Ctrl + N or click the File tab, choose New from the left side panel and choose Blank Document.
- To save a document, press Ctrl + S or click the File tab, choose Save or Save As from the left side panel, choose Computer, then Browse, select a location and a filename and click Save.
- To close a document, press Ctrl+W or click the File tab then choose Close from the left sidebar.
- To open a document, press Ctrl+O or click the File tab then choose Open, then Browse, select the file location and double-left-click the file name. Recent files are listed on the right.
- To switch from one open document to another, hover over the stacked Word icon on the task bar then select the thumbnail from the gallery of open documents that you want to switch to.
Jason Morrell is a professional course creator, consultant and trainer. He's the guy that people often sneak through the back door to fix up a hot mess that has defeated everybody. He takes on client projects and helps people of all levels unleash the power contained within Microsoft 365, simplifying tricky concepts and providing helpful, proven, actionable advice.
In his downtime he loves to shoot into the Gold Coast Hinterland on his Indian motorcycle and tend to his 47 pets (they all live in an aviary).
If you would like some 1-on-1 time with Jason to finally get that project finished - you know the one - then please reach out.
